
How to use Tunneling Document
Purpose of this article
This article aims to show what is and how to use the Tunneling document.
What is Tunneling Document?
Document Tunneling is a task that runs in the background and aims to associate the value of a tag to another tag, that is, it is possible to assign a value from tag A to Tag B and vice versa.
Document Tunneling is located in the navigation tree. To create a new Tunneling Document, follow the steps below:
- Right-click on the Tunneling Document located in the navigation tree.
- Click New Document.
A new document will be shown:
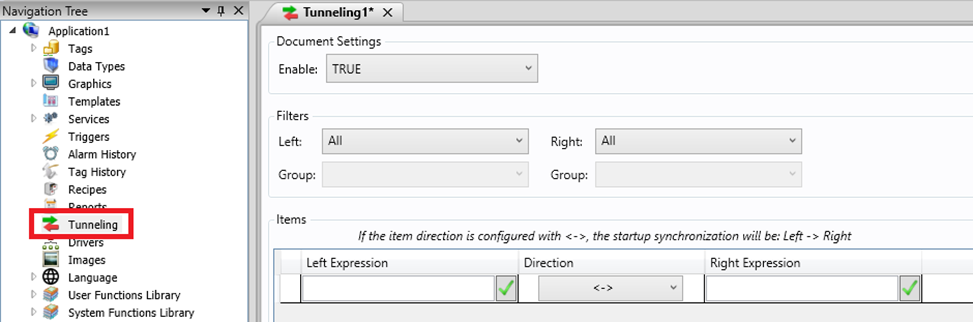
Tunneling Document is divided into three areas:
- Document Settings, which contains a field to enable or disable the document.
- Filters, applies a filter on which tags will appear in the list of items.
- Items, shows a list of all tags that will be associated between the left and right sides.
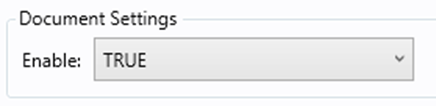
Use the parameters in the Settings area as follows:
- Enable: Enables or disables Document Tunneling. You can also use a boolean tag to enable or disable the document.

Use the parameters in the Filters area as follows:
- Left / Right: Apply a filter to the list of items according to the selected option.
- All: All configured items will be displayed.
- None: No configured item will be displayed.
- Database: Displays only items configured with tags that have Database communication.
- OPC DA/UA Client: Displays only items configured with tags that have OPC DA/UA Client communication.
- Drivers: Displays only items configured with tags that have drivers communication.
- Simulation: Displays only items configured with tags that have Simulation communication.
- Group: It only shows items from the selected group, that is, if the tag belongs to the Driver group, this option allows filtering which driver sheets will be shown.

Use the parameters in the Items area as follows:
- Left Expression: Field to insert tag to which it will be associated.
- Right Expression: Field to insert tag to which it will be associated.
- Direction: Defines how the association will be. There are three ways to associate the value of one tag to another tag.
-> Left to right direction, that is, the value of a tag entered in the “Left Expression” field will be assigned to the tag entered in the “Right Expression” field.
<- Right to left direction, that is, the value of a tag entered in the “Right Expression” field will be assigned to the tag entered in the “Left Expression” field.
<-> Bidirectional assignment, that is, the assignment of the value of the associated tags can be in both directions.
Note:If the direction of an item is set bidirectional (<->), the initial assignment is from left to right.
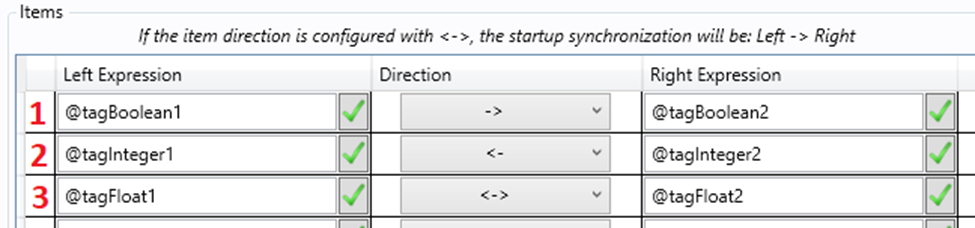
Usage example (Assigning boolean, Integer and Float tags)
In the example below, @tagBoolean1 is being assigned to @tagBoolean2. Tag @tagInteger1 is getting value from @tagInteger2 and @tagFloat1 and @tagFloat2 are attributing vice versa.
Therefore, the three ways of direction will be executed when the current value of the tag is changed.
Note: It is possible to assign the value of a tag to another tag by Script (Tag1 = Tag2;), for example within Document Services, triggers or in screen objects script, however, it is not possible to assign it with bidirectional direction.
Note²: To facilitate the insertion of many tags in the Tunneling Document, it is possible to use the “Export/Import” resource to manipulate the inserted tags.
Usage example (Assigning the value of a PLC1 tag to a PLC2 tag)
If it is necessary to send information from one PLC to another PLC.
