How to Install ADISRA SmartView Android App
Purpose of this article
This guide provides simple instructions to install the ADISRA SmartView application on Android devices quickly and easily and it also explains the process to deploy an application and access through the app.
1. Step-by-Step Installation
1.1 Installation Steps
1. Open the Google Play Store on your Android device.
2. In the search bar, type “ADISRA SmartView”.
3. Locate the official ADISRA SmartView app and click Install.
4. Wait for the app to download and install.
5. Once completed, open the app from the Play Store or from your device’s app menu..
1.2 Important Considerations
The application is not available for iOS devices (iPhone/iPad).
Make sure the device supports HTML5 browsers.
The Android device and the server must be on the same Wi-Fi network for local access, or the server must be accessible over the internet with the appropriate configuration.
2. Server and Mobile Device Configuration
2.1 Prerequisites
To use the ADISRA SmartView App on Android as a client and connect to the Runtime:
• ADISRA SmartView must be installed and running on a computer as a server with an activated license. Keep in mind that any client access (viewer, web or app) consumes a connection from the license.
• The server where the project is running must be serving the WEB pages correctly with the web server properly configured. If the pages are accessible via a web browser, they will also be accessible through the ADISRA SmartView App.
• The Android device must be on the same network as the server, or the server must be accessible via the internet with the communication port (default: 9003) and the configured web server port (80/443) open.
2.2 Server Configuration
1. On the computer with ADISRA SmartView, open the project you want to access via the ADISRA SmartView App.
2. Save the screens as HTML.
3. Configure IIS to serve the new site.
4. Make sure the Runtime is running to allow access from the mobile device and via the web.
5. Test access through a web browser to ensure the IIS web server settings are correct, both via localhost and the network IP.
6. If the pages load correctly in the web browser, we can test them on the mobile device.
2.3 IIS Configuration (Web Server to host the web pages)
To use ADISRA SmartView with the Internet Information Services (IIS) web server on a Windows operating system, you must first enable IIS if it is not already activated. Follow the steps below to set it up.
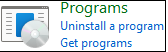
1. Open the Control Panel and navigate to the Programs section by selecting the “Programs” option.
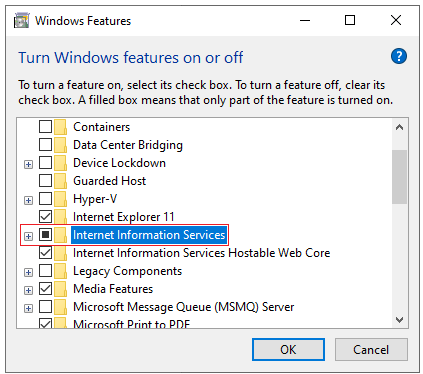
2. In the Programs section, click on “Turn Windows features on or off” to access the window where you can enable or disable Windows features.

3. Locate the “Internet Information Services” option and check the box to enable it. This will install and activate IIS on your system.
4. After enabling IIS, launch the IIS Manager. You can find it by searching for “IIS” in the Windows search bar or by pressing Windows key + R, typing “inetmgr” in the Run dialog box, and clicking OK.
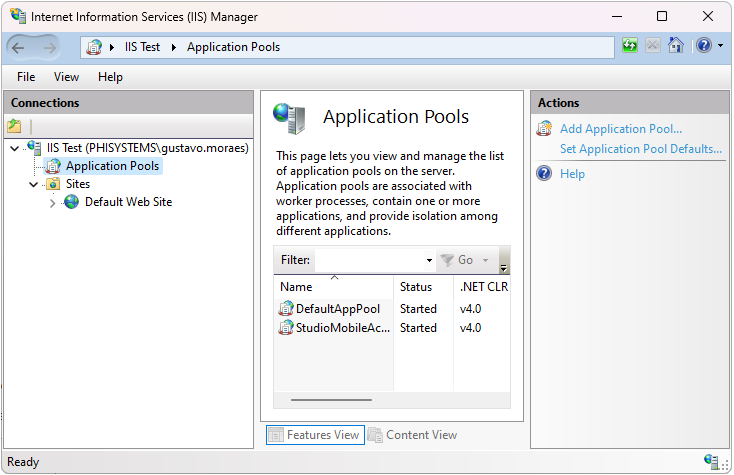
5. In the IIS Manager, select the top-level server node. On the right-hand panel, click Start to initiate the web server, provided the option is not grayed out.
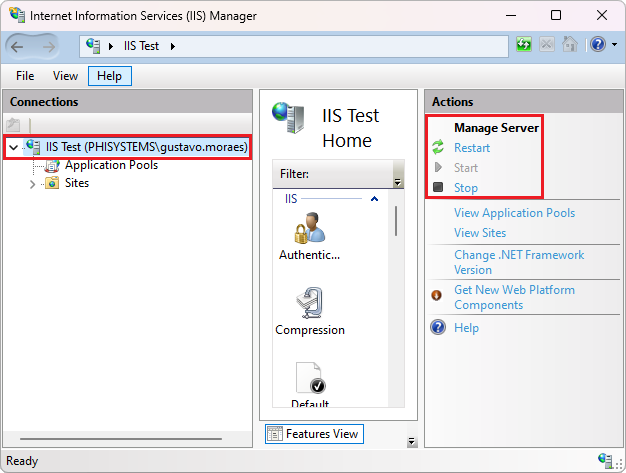
– If the server fails to start, verify that the port configured is not in use by another application. If it is, stop the conflicting application to free up the port or change the ports.
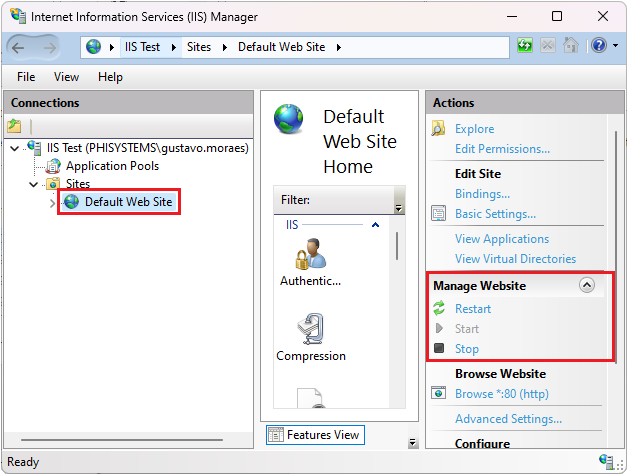
6. Once the server is running, expand the Sites folder in the IIS Manager. To use the default web server directory, select Default Web Site and click the Start button in the right-hand panel. If you saved the html files to the default web folder, it will add a new site under the Default Web Site.
If all steps are completed successfully, IIS will be fully enabled and operational. Refer to the following sections for guidance on configuring ADISRA SmartView to run your application in a web browser using HTTP or HTTPS.
2.4 Saving the web pages (HTML)
1. Open the ADISRA SmartView engineering area with the project you want to display on a web viewer.
2. Access the ‘Web’ area and, if you want to set a different web folder for your project, click ‘Default Web Folder’ and set the new folder (the default web folder guarantees the files will be saved in the IIS root folder, which makes the configuration easier).

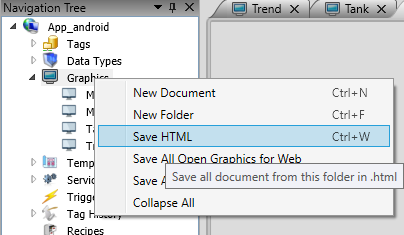
3. With the web folder configured, we will now save all graphic documents as HTML. Open the Navigation Tree, right-click the Graphics icon, and click “Save HTML” to save all graphic documents in the project as HTML. Alternatively, you can press the left Ctrl key + W key to save all graphics as HTML. Please note that if you make any modifications to a graphic document after saving it as HTML, you will need to save it as HTML again in order to update it on the web.
If you have already saved all the graphic documents as HTML and have made a modification to a specific document, to avoid spending time saving all the graphics as HTML again, you can right-click on the graphic document and select “Save as HTML” to indicate that you want to save it in that format
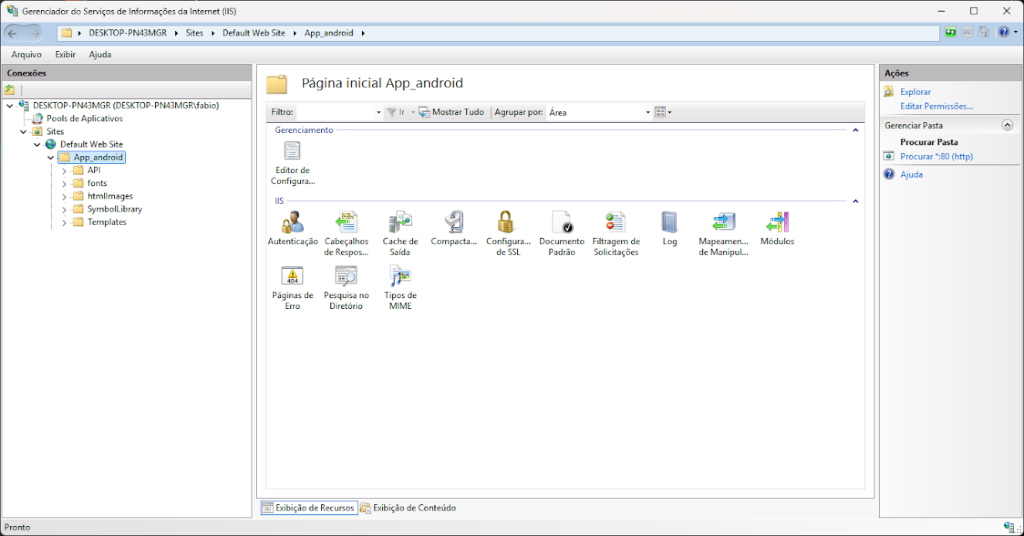
4. With all graphic documents saved as HTML, you are now ready to test the application on the web viewer. Start the application runtime, open the IIS Manager, expand the Default Web Site area, find and select the folder with the name of your project, and then press ‘Browse *:80 (http).’ The web viewer will open locally in the default web browser on your machine.
The default web browser will load the application as in the image below.
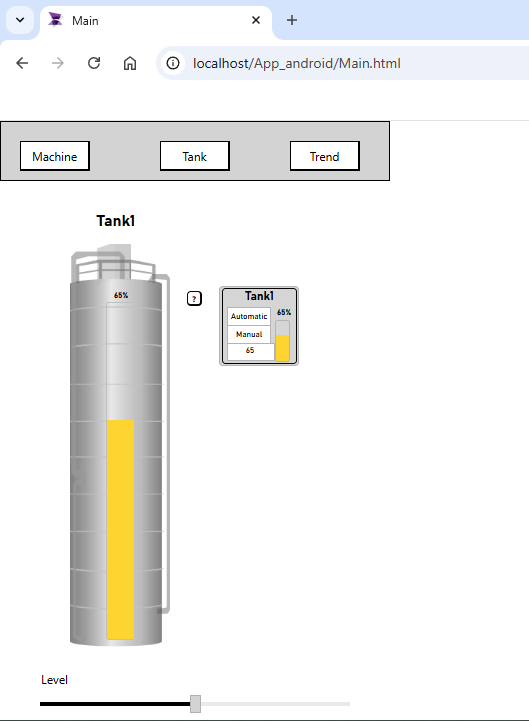
After testing it locally, you can also replace “localhost” in the url and test the network ip address. Let’s say the server ip address is 192.168.10.10, so we can test http://192.168.10.10/App_android/Main.html too. This is the url we will use in the next chapter by ADISRA SmartView Android App to connect to the runtime.
2.5 Mobile Device Configuration
1. Open the ADISRA SmartView App on the Android device.
2. Enter the server IP address and the configured port if needed (ex: http:\192.168.1.100\SampleApp\Main.html)
3. Confirm the information to establish the connection.
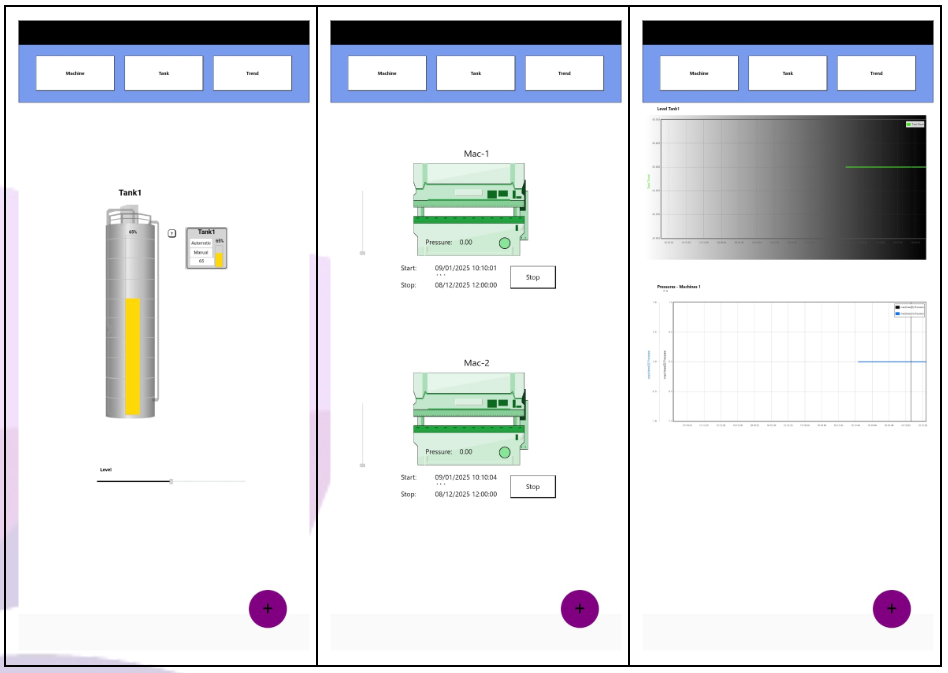
4. Once connected, the project screens will be available, allowing navigation, data visualization, alarms, and interaction with configured buttons and commands.
5. The table below shows the ADISRA SmartView Android App executing after the connection was made.