Enabling Better Visualization of your Machine Data and a Smarter Bottom Line for your Business
Adding Templates to a Graphic
After creating Templates, they will be available in the Graphics Ribbon under the Template object. Please review the following steps to add a Template and configure it, after which you will see it in Runtime.
1. Add Template Object
Locate and click the Template icon in the Graphics Ribbon. It will display all the templates available for the current project in a pop-up dialog.
Select the Template and click OK. The dialog will close, you can click within the Graphic area to insert it.
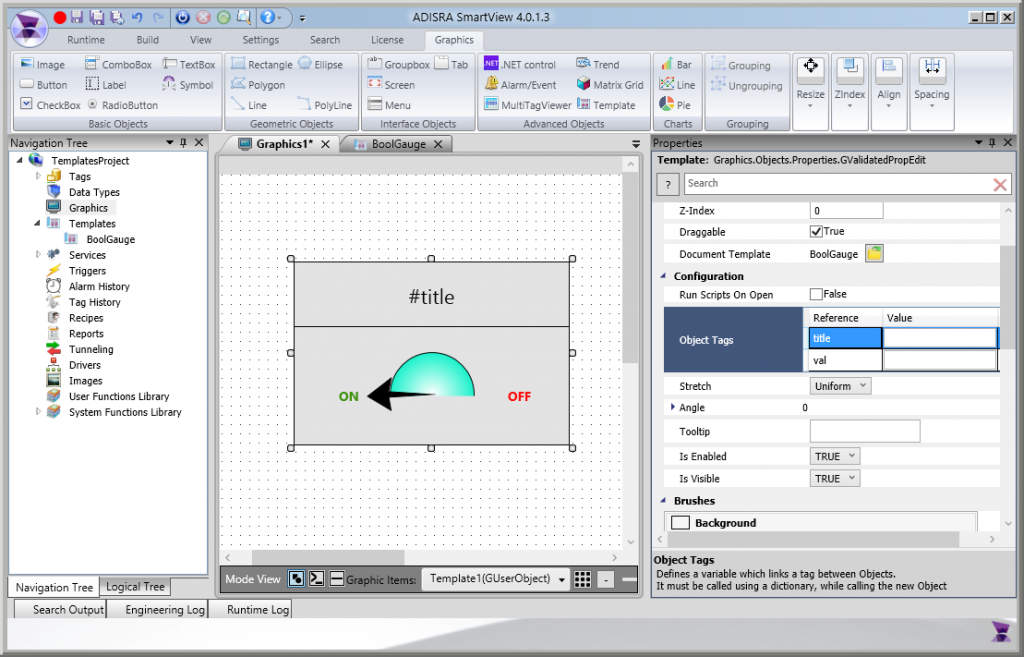
The property grid allows configuring the object tags previously created inside the template document
2. Configuring the Object Tags
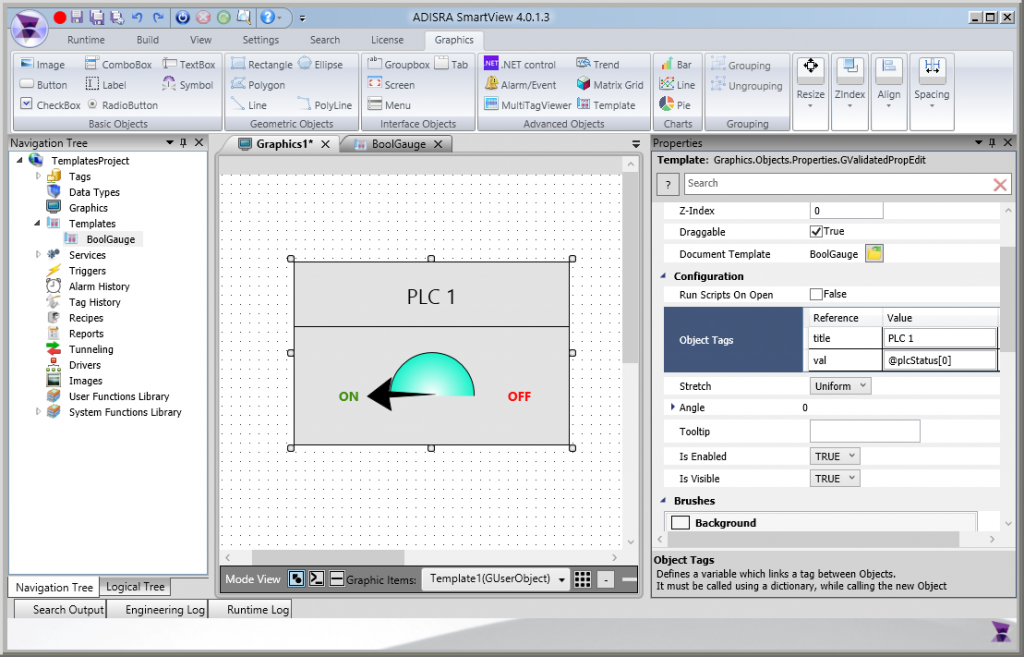
In this Template, there are 2 Object Tags, the “title” of the Template and the value of the gauge.
title will be set with a fixed value “PLC 1”
val will be set with a tag. In this example, @plcStatus[0] (Boolean array)
It is a very simple template and it is ready to be used.
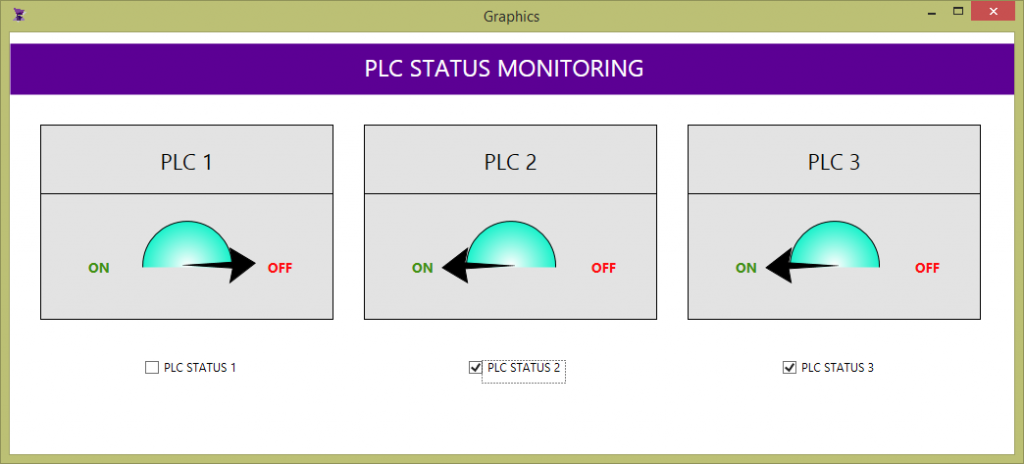
Let’s show the Template being reused by other tags. We will add 2 more Templates to display the status of 2 additional PLCs and add checkboxes to simulate the three PLC’s status.
Each template and checkbox were configured properly
3. Running the Application
It is time to test! As soon as the application is executed, we can switch the value of the status tags and those changes will reflect in the gauge template.