
Getting Started in ADISRA® SmartView
ADISRA® SmartView 4.0 is an easy-to-use, powerful application building program designed to get you connected to your machine and build simple yet sophisticated applications for collecting and viewing your machine data on your monitor as well as a tablet or cell phone with an HTML5 browser.
The Getting Started Guide tabs below will walk you through installing and setting up ADISRA SmartView and show you the basics of developing your first application. Then when you are ready for a bigger challenge, download the Advanced Getting Started Guide PDF at the bottom. This is your guide to showing you what’s under the hood of ADISRA® SmartView.
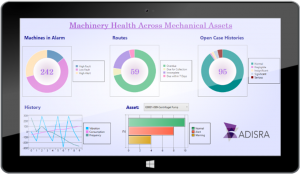
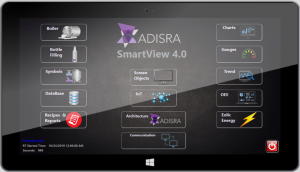
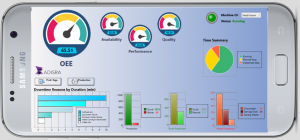
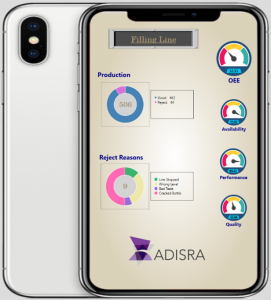
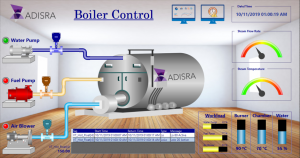
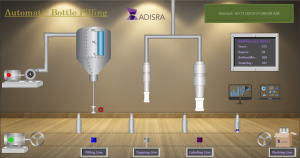
Screen Captures of ADISRA® SmartView Applications
Requirements
Download & Installation
Licensing
Launch ADISRA® SmartView
Create New Project
Add Documents & Files
Project Settings
C# Scripting
Requirements
System Requirements
To install ADISRA® SmartView, we recommend that your system meet the following requirements in order to optimize its performance.
Hardware Requirements
Minimum:
- CPU: 1.44 GHz
- RAM: 4 GB
- Disk Space (min):
- 32 bit, 8.0 GB
- 64 bit, 8.0 GB
Recommended:
- CPU: 1.7 GHz
- RAM: 6 GB
- Disk Space (min):
- 32 bit, 20 GB
- 64 bit, 20 GB
Software Requirements
- Windows 11
- Windows 10
- Windows 8.1
- Windows Server 2019
- Windows Server 2016
- Windows Server 2012 R2
- Windows Server 2012 (64-bit edition)
- Windows Server 2022
- Microsoft .NET 6.0 REQUIRED
- OPC Core Components
- Windows Desktop Runtime
- Visual C++ Redistributable
Download & Installation
Download
To download ADISRA® SmartView, please follow the steps below.
- Open a web browser and go to adisra.com.
- Click on Download Software link.
- Once your browser has completed the download, you must extract the software from the downloaded ZIP file.
Select the file, Right-click and select Extract files. Choose the location where you would like the software files extracted to.
The Installation Process
- Once ADISRA® SmartView has been downloaded and extracted from the ZIP file as described in Downloading, go to the folder and double-click the “en-us” folder to open it. You must run the “Setup.exe” file as the Administrator by right clicking it and selecting “Run as administrator” from the drop-down menu.
- If you attempt to install the ADISRA® SmartView and have not installed the OPC Core Components or other components necessary, you will receive a warning asking if you want to install them.
NOTE: Before installing the components, check your machine information to install the compatible components with your operating system.
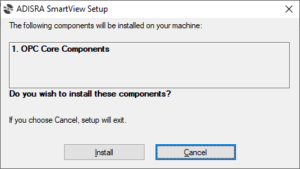
If you press “Install”, for each component that needs to be installed, there will a message window with license and term agreements. To complete the installation, read and accept each of the term agreements. Check any appropriate boxes and proceed.
- After you have installed the components, ADISRA® SmartView program installation will begin. The first page is the End-User License Agreement.
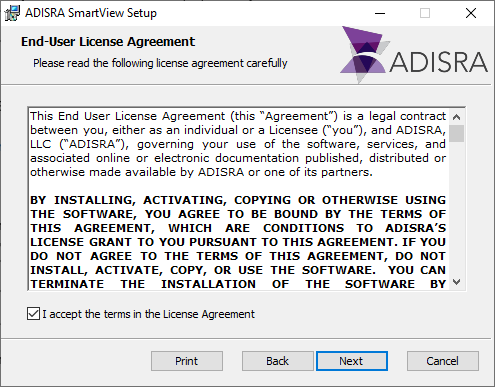
After reading the entire License Agreement, select the “I accept the terms in the License Agreement” checkbox and click Next.
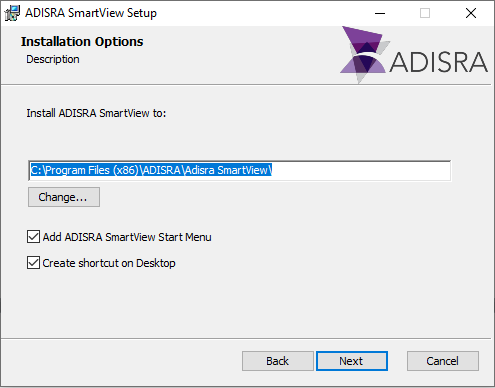
- The next page allows you to set where the ADISRA® SmartView will be installed. If you click Next, it will be installed in the default location which is “c:\Program Files(x86)\ADISRA\Adisra SmartView”. To install in another location, click the Change button and choose the location of your preference.
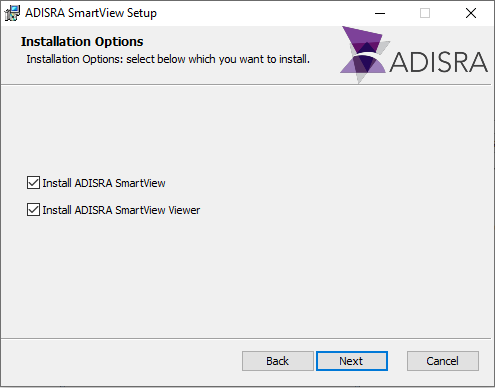
- When you click the Next button, the installation process will give you the option to install the ADISRA® SmartView, the ADISRA® SmartView Viewer or both of them, select the one you want and then click Next.
- At last, click install to begin the ADISRA® SmartView installation.
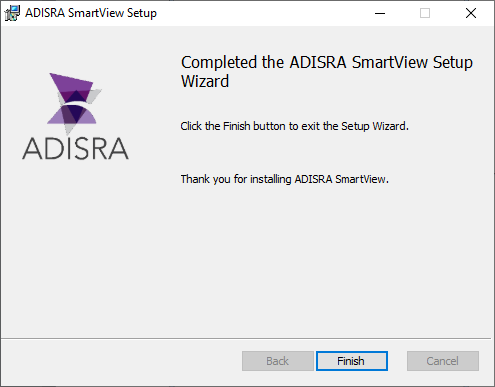
When the installation process is completed, click the Finish button.
Licensing
Registering a License
Before you can use the software, you MUST register ADISRA® SmartView.
- After you have installed ADISRA® SmartView, there are two ways to register a license:
1.1. Select the License tab in the banner and then the Register button:

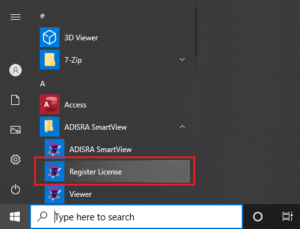
1.2. Go to the Windows toolbar: Start > All Programs > SmartView > Register License.
- By using either method 1.1 or 1.2 above, the following window will appear:
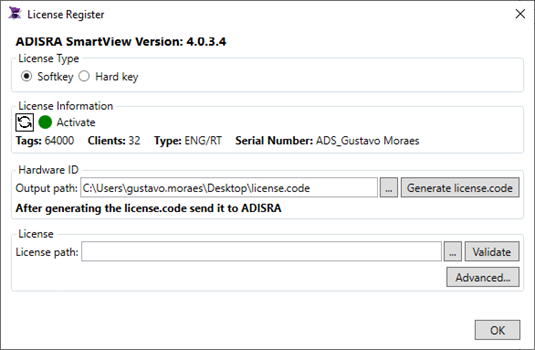
- Click the button labeled “Generate license.code” to create the text filename with the Hardware ID. That file location will be displayed in the text box called “Output Path”
(Note: you can change the Output Path by clicking on the (…) graphic button next to the Output Path text box)
- Attach the text file named “license.code” to an email and send to info@adisra.com.
The software vendor will send back a License Key File that matches this Hardware ID. Download and save the license file to your storage drive (remember the location).
- Enter the license key file location in License Path text box, or browse to it by clicking on the (…) graphic button, and then click the Validate button.
- You will be prompted to confirm the operation once the program accepts (validates) your License Key.
You are now ready to use ADISRA® SmartView.
Close the Register License window and run ADISRA® SmartView.
Launch ADISRA® SmartView
Launching ADISRA® SmartView
Once ADISRA® SmartView is properly licensed, run the software by navigating to:
- Windows toolbar: Start > All Programs > ADISRA SmartView > ADISRA SmartView
Or
- When you install ADISRA® SmartView, program shortcuts will automatically be created on the desktop. Double-click the ADISRA® SmartView icon on the desktop.
Note: If this is the first time ADISRA® SmartView is opened, the Engineering Environment will be empty (as shown below). Otherwise, it will open with the last project that was used.
Note: If the following message appears when you execute the ADISRA® SmartView, install the latest ASP.NET Runtime version and Windows Desktop Runtime.
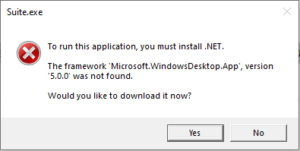
Once you successfully start ADISRA® SmartView, you may create a New Project or Open an existing project.
Get to Know the Engineering Environment
The Engineering Environment of ADISRA SmartView is a user-friendly, Ribbon-based Windows® interface with many features. The Engineering Environment is where you can configure the ADISRA® SmartView development interface and begin working on a project right away.
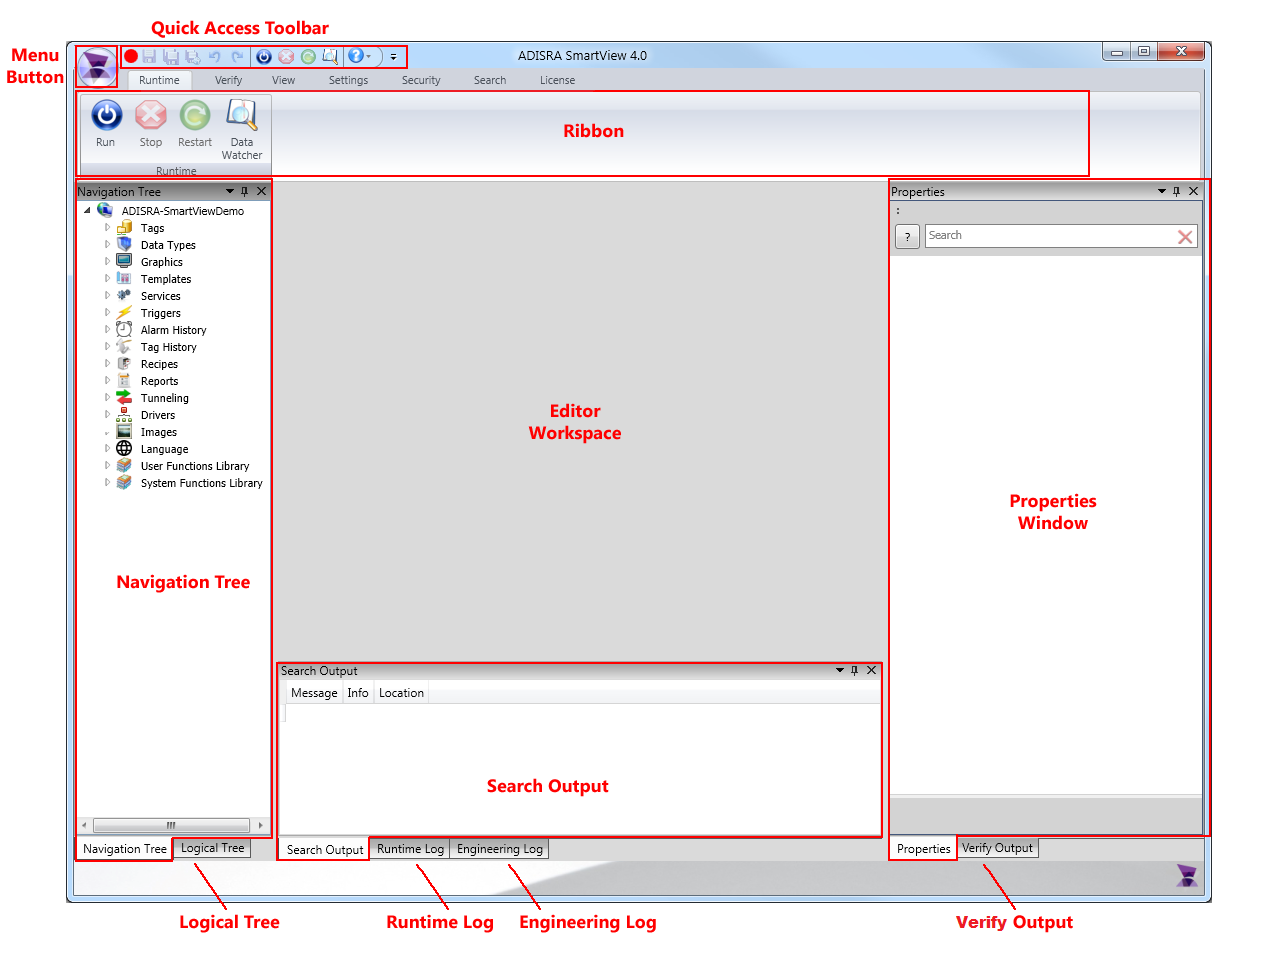
The image above is a layout of the default ADISRA® SmartView Engineering Environment. In the subsequent sections of the Getting Started Guide, we will refer to various areas of the Engineering Environment layout as reference. The areas of the Engineering Environment are:
- Menu Button
- Navigation Tree pane
- Logical Tree pane
- Ribbon
- Quick Access Toolbar
- Search Output pane
- Engineering Log pane
- Properties pane
- Runtime Log pane
- Build Output pane
- Verify Output pane
NOTE: For detailed explanation on the sections above, refer to the Help files in ADISRA® SmartView or to the Advanced Getting Started Guide pdf below.
Create New Project
Creating a New Project
Now that you are familiar with the Engineering Environment, you can create a new project.
- Click the Menu Button in the top-left corner of the program window.
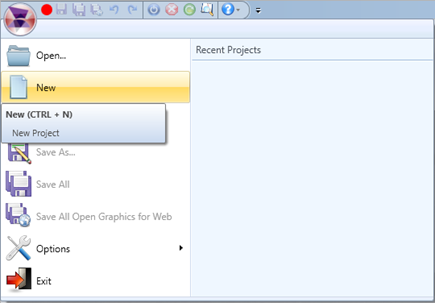
- Select New or press CTRL + N.
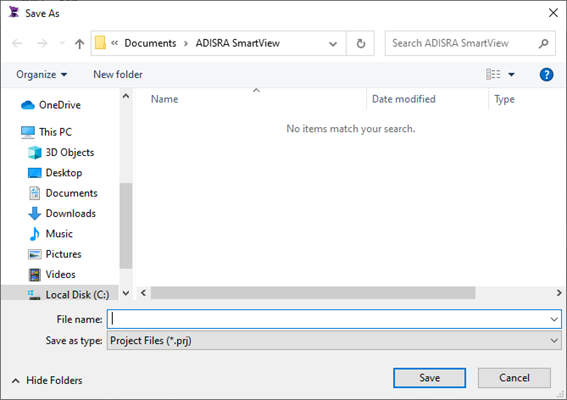
- A new “Save As” window appears. Select the folder in which to save the project and to give your project a name. By default, the project is created with a (.prj) file extension.
Note: Project names cannot contain special characters or spaces.
- To begin your project, familiarize yourself with the workspace layout. ADISRA® SmartView displays the structure of the project in the Navigation Tree, as shown below.
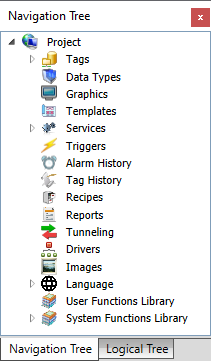
As can be seen in the image of the Navigation Tree, some components are automatically created, such as Tags, Services, Alarms, Graphics, System Functions Library documents and others. The image represents the basic structure of the Navigation Tree for any project.
You may start using these documents or you may create new documents and customize.
Add Documents & Files
Add Documents & Files to your Project
All components in the Navigation Tree are defined as documents in ADISRA® SmartView such as Tags, Data Types, Graphics, Services, Triggers, Alarms, Histories, Recipes, and Reports. The Navigation Tree represents the folders and files created for each project in your hard disk. You may add and configure documents to any component in ADISRA® SmartView.
Creating a New Document
To create a new Document for any component in the Navigation Tree, right-click on the component folder in which you want to create the document and select “New Document”.
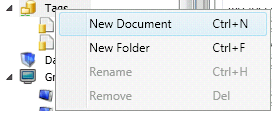
An empty tab opens in the workspace where you will then create new files for that component (i.e. tags, recipes, reports, graphics, etc.).
Adding New Files
To insert a new file into a document, open the document you want to add the new tags to. When you open the document in the Engineering Environment, the Ribbon will update and display a new tab labeled for that component (see image below example for the “Tags” Ribbon). The available buttons on the Ribbon will change pertaining to the tab that you have open.

To create a new file for that component in the document, click the “+” button. You may configure the files that you create by using the Properties window.
Saving the Document
With new components are inserted, it is wise to save these changes made to the document. There are several ways to save a document:
- Click on the Main Menu button and select “Save”from the drop down menu
- From the Quick Access Toolbar, click on the Save disk icon
- With the document you want to save open in the document area, press CTRL + S keys
Note: When a document has been changed, it is marked with the symbol “*″ next to the document name.
Project Settings
Settings
The Settings Ribbon is responsible for configuring Project Settings including Date and Time formats, Graphics, Events, General, Viewer and Web, Tags and Script References, and others.

For details of each function, refer to the Help Files in ADISRA® SmartView software.
C# Scripting
ADISRA® SmartView becomes a powerful programming tool in the hands of an engineer with knowledge of C# scripting language. If you are a beginner looking to dive into ADISRA SmartView but do not have a strong knowledge of C#, we recommend that you watch a C# tutorial and learn the basics.
Download: ADISRA® SmartView C# Script Reference (PDF)
There are many free resources available online for C# beginners.
Advanced Getting Started Guide (pdf)
For Getting Started in ADISRA® SmartView and developing a more detailed introductory project, download the PDF by clicking here.
add chat to your website
